My clients want to add some frames in an antique gold finish on the wall opposite the cherry blossom tree mural.
You didn’t think I was done with that job, did you?
Nope. I’m headed over this weekend to add some more flowers and ‘magic’. But more on that later. Today’s about creating an antique gold faux finish.
An easy one.
So they show me the above pic and say they’ve been looking everywhere for frames that match. I resisted saying, “Good Luck”, but I think my expression gave it away. Then I opened my big piehole.
I can do that for you.
‘Where are you going to find the frames’, they asked in that perfect I’m-a-shopper-not-a-DIYer tone.
Before I could stop it, the Piehole opened again. Thrift Shops!
Luckily I’d painted the safari mural for these clients before, so they trust me. Even with thrift-store-turned-gorgeous-antique-gold-frames for their baby girl.
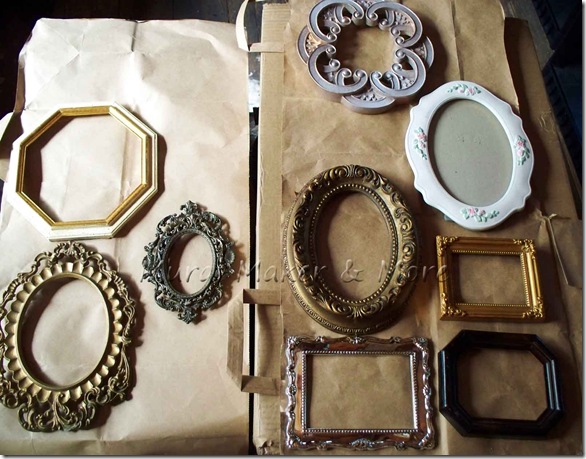
Here’s what I started with . . .
Four trips to three different thrift shops, but I scored great frames at rock-bottom prices.
Wood, ceramic, metal, plastic and foam. Yes, foam. One of the scrolled oval frames is actually compressed foam.
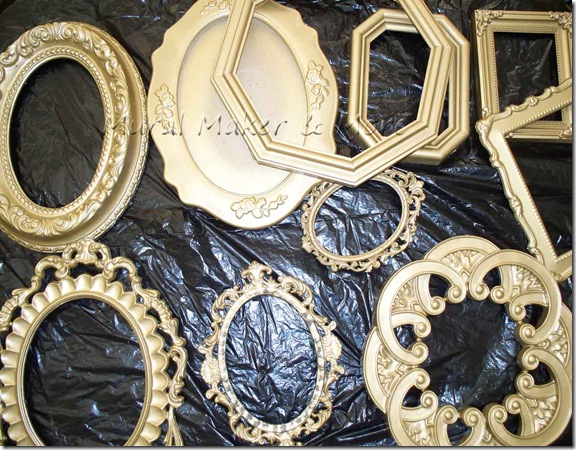
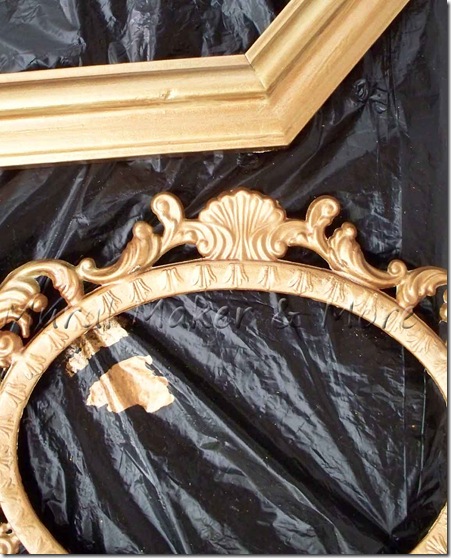
I thought I could get away with a basecoat of gold spray paint but the gold was too light and too . . . blah.
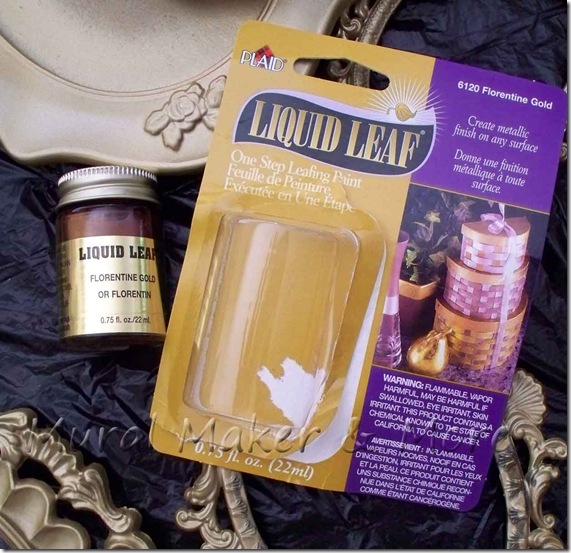
Rather than trying to find the right tone of gold in spray paint, I grabbed a little bottle of Plaid’s Liquid Leaf. At Michael’s. With a 50% coupon.
The profit I’m losing in my time I’m making up for with actual hard costs. Or, that’s what I’m telling myself.
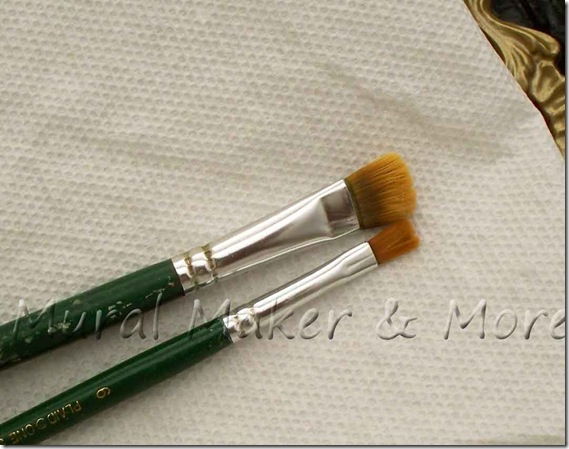
For Liquid Leaf, you’ll need old, scruffy brushes. Which I usually have a drawer-full. Or just buy some cheapies. Because - a) you won’t want to clean them – unless you happen to have paint thinner around, and b) you need to scrub the gold into all the scrolls and crevices.
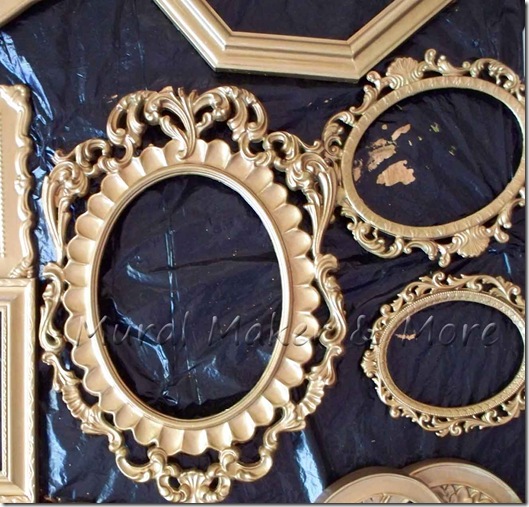
Can you see the difference in tone? I bought Florentine Gold in the Liquid Leaf but it wound up a little to bronze-ish.
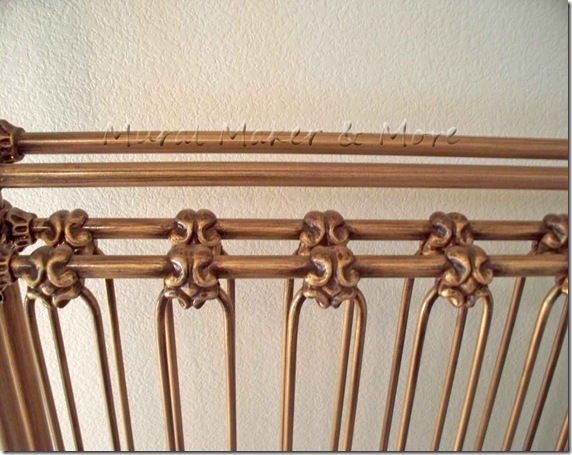
Pretty, but I’m trying to match their crib.
So, Step #3 – a richer gold. Over the Florentine Gold. Over the Light Gold.
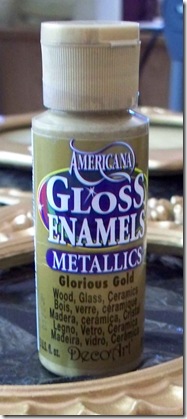
Glorious Gold is the color I was going for in the first place but didn’t want to spend the time brushing it on.
Next time, just forget Steps 1 & 2 and save some time. And money.
Now, time to make all the scrolls show up. . .
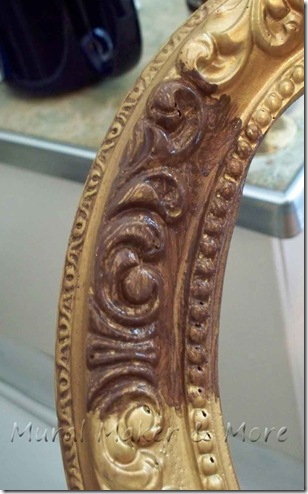
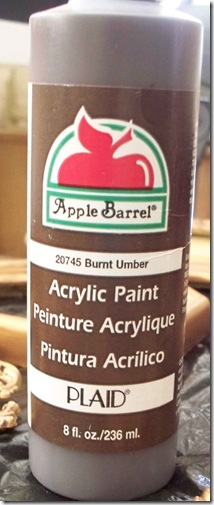
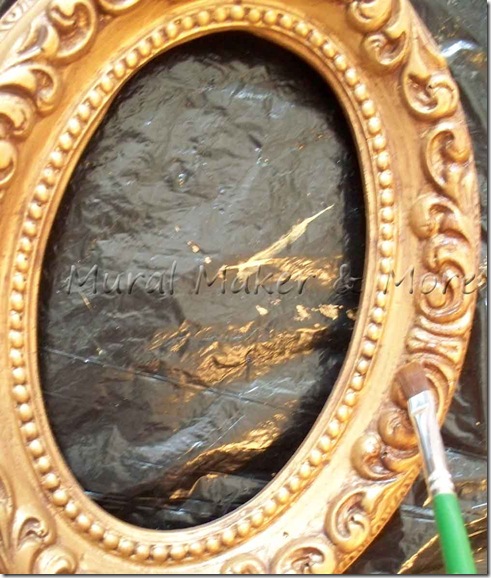
Glob on some burnt umber . . .
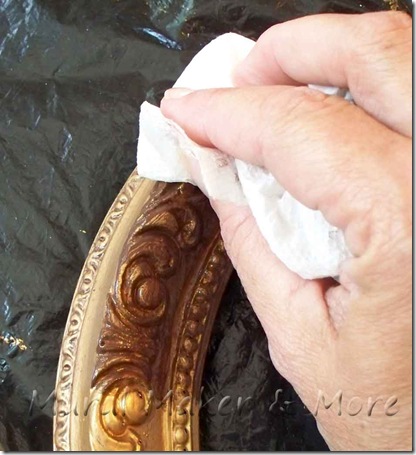
And wipe it off. With a paper towel. No fancy rag. Just a regular ol’ paper towel.
Now we’re getting somewhere.
Truth be told, I tried black first.
Uh . . . no.
Then I tried Raw Umber. Not enough warmth.
Just my good ol’ craft paint, full strength, in Burnt Umber.
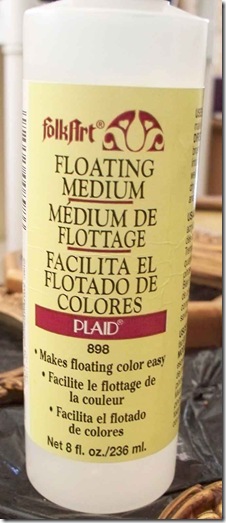
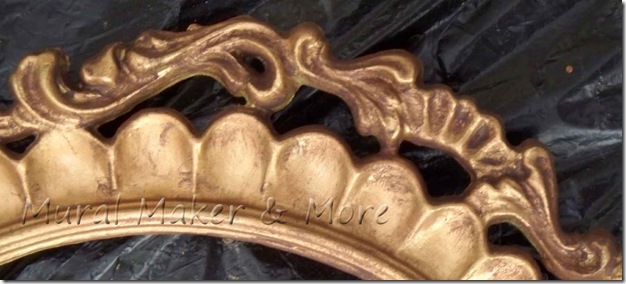
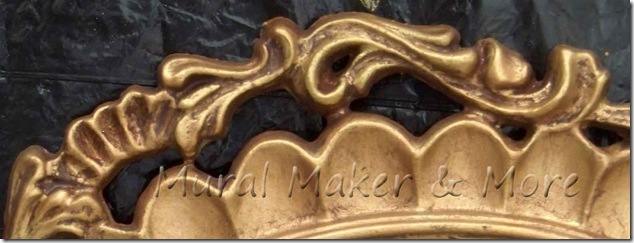
Then I dabbed on some Floating Medium on the high spots and wiped it off.
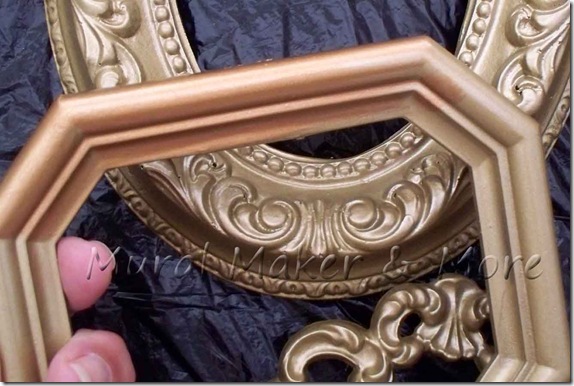
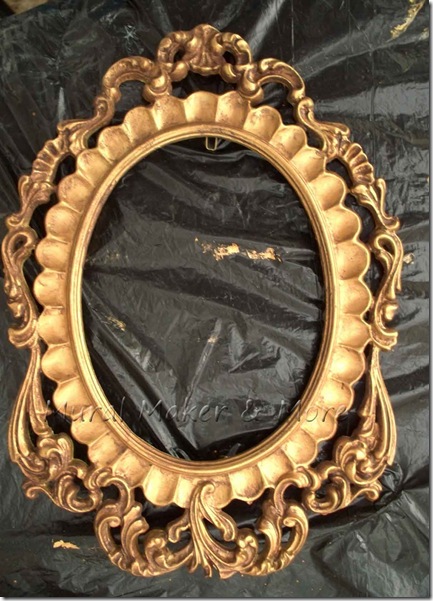
This is my favorite frame in the collection. It’s plastic. Ha! Doesn’t look like plastic anymore.
Before the floating medium . . .
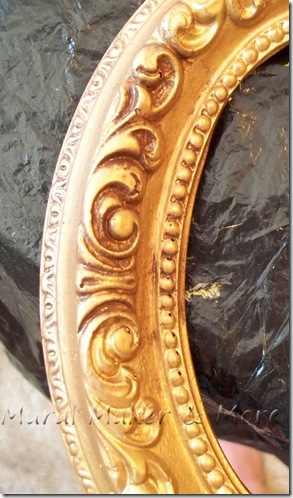
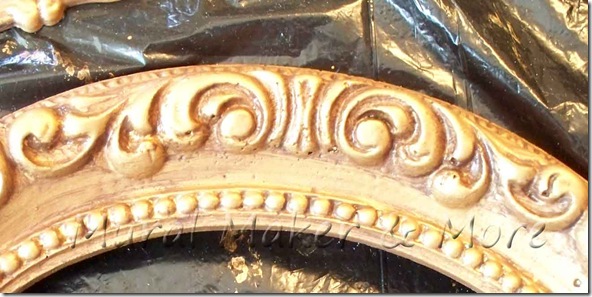
. . . and after. Subtle difference, but more gold shows up, which makes the ‘antiquing’ look richer.
I’m happy with how they turned out. I shot them with a couple coats of Clear Coat, which always richens the paint layers.
Is richen a word?
How ‘bout enrichen?
Now both words look weird to me. Just take my word for it and spray a clear coat on the finish and watch it glow.
Not shine – ‘glow’.
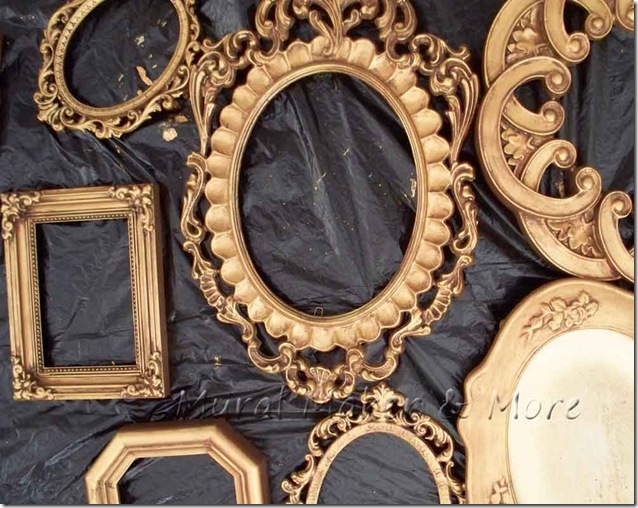
I’d love to show you a finished picture of the frames hanging in the room, but I haven’t delivered them to the clients yet.
This is the best I’ve got this morning.
Oh, and I’ll have to share a simple way to hang a collection. Without making a tone of nail holes in the wall.
Hint: spray paint on paper bags or craft paper first.




This is great!!!!!!!! Thank you for sharing! Do you think i would be able to use acrylic paint over metal?
ReplyDeleteAcrylic paint, by itself, over metal will most likely flake or peel off. You can either a) prime the metal and/or b) seal it after you paint with lacquer. I've had pretty good luck painting on metal and sealing it with lacquer, even outdoors.
ReplyDeleteGood luck!
from where I can buy the glorious gold paint, you mentioned in step 3?
ReplyDeleteYou can find Americana "Glorious Gold" in most craft stores, as well as online.
ReplyDeleteDo you want the wardrobe in antique gold or just to appear antiqued over a color? There are many great tutorials for antiquing furniture. I'd also recommend Miss Mustard Seed, who specializes in painting furniture. Hope this helps.
ReplyDeleteYour picture frames look great! I am going to try this with some wood ornamental molding I am going to hang on the mantle above my fire place. I was wondering what if you could clarify what you meant by skip steps 1 & 2. Do you mean disregard using the michaels liquid leaf and the spray paint and just start with the American Glorious Gold. Also what is clear coat? Is that a specific type of spray paint?
ReplyDeleteBeautiful, and thank you for the detailed instructions.
ReplyDeleteAs with Delena's question above, which sheen level of the Clear Coat is best for this application? e.g., gloss, satin, matt, or the one apparently that has no detectable sheen?
thanks!
@Delena, you could basecoat with Glorious Gold by itself but it would take quite a few coats. Spray paint or liquid gilding has better coverage but I prefer the color of Glorious Gold. So I'd still use either spray or gilding for the basecoat and then apply one coat of Glorious Gold.
ReplyDelete@MC, I'd use a satin clearcoat sealer. Gloss might work but it might appear too shiny. Satin would give just enough sheen, but not too much.
ReplyDeletethank you so much for sharing this. I've been looking and tried the "blah gold spray paint" adding some antique color and still not there. This is exactly what I'm looking for...now if I can find it by the quart:=)
ReplyDeleteAmazing decorative ideas for antique gold frame, looking wonderful pictures of interiors as well as faux finishing techniques over gold frames i really amazed, i use to make it possible in my home to give decent look to wall.. ......
ReplyDeleteGreat post! I am actually getting ready to across this information, is very helpful my friend. Also great blog here with all of the valuable information you have. Keep up the good work you are doing here. Plastic Coatings
ReplyDeleteExcellent data, important and superb plan, as part great stuff with exceptional thoughts and ideas, heaps of extraordinary data both of which I must, keep your post. For more visit-
ReplyDeletehttp://www.agency-escorts-london.co.uk/.
Oxford collection picture frame lights are available in incandescent or LED styles. Battery Led Picture Light
ReplyDeleteI love what you did with these frames. And your tutorial and instructions and photos are fantastic. I am a new follower because of this one post that I found on Pinterest. I am a stager/decorater and I am going to try this finish on a shiny brass chandy in a client's dining room. I will first paint it with "Rub-n-Buff" (have you heard of this product. Gives shiny brass that Bronze look which is so popular now) and then I'll add with a sponge/rag etc the gold, amber & floating medium. As it is not going get handled a lot I think it will look awesome! Thanks again for helping me out.
ReplyDeleteHugs
Mandy
That actually looks pretty neat! Pretty subdued for a gold finish
ReplyDeleteAirless Spray