
I have a huge stack of flattened cardboard boxes in the garage from the move last summer.
I keep thinking I need to put them on Craig’s List so someone else who’s crazy enough to move can benefit.
Until then though, I wanted to use a few for Christmas decorations.
Crazy?
Maybe, but it’s a fun way to try out new projects. Especially if you want some big ones.
The cardboard nutcracker I made last year wound up at my grandson’s house so I’ve been planning on making another one. But he’ll go upstairs next to Mom’s fireplace. I wanted something for my fireplace downstairs.
The plan is to decorate the room in a Winter Woodland theme but I didn’t want to decorate a regular tree for in here.
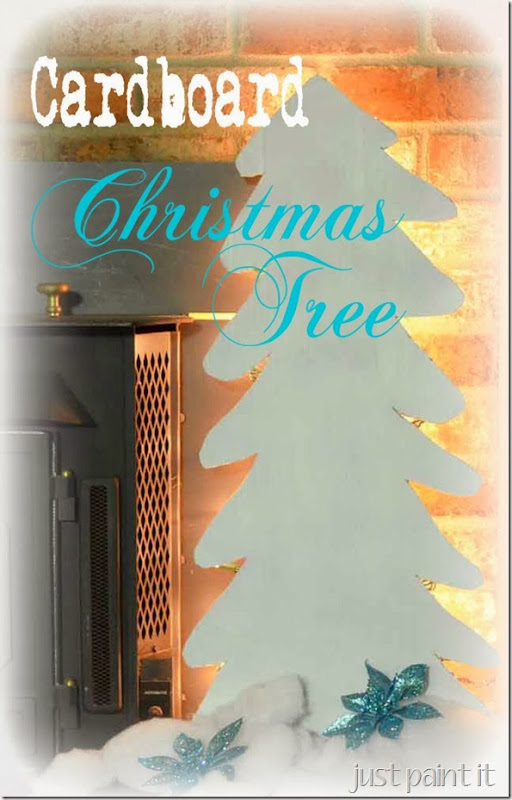
So how about a cardboard tree? Or two.
Lemme show you how I made them.
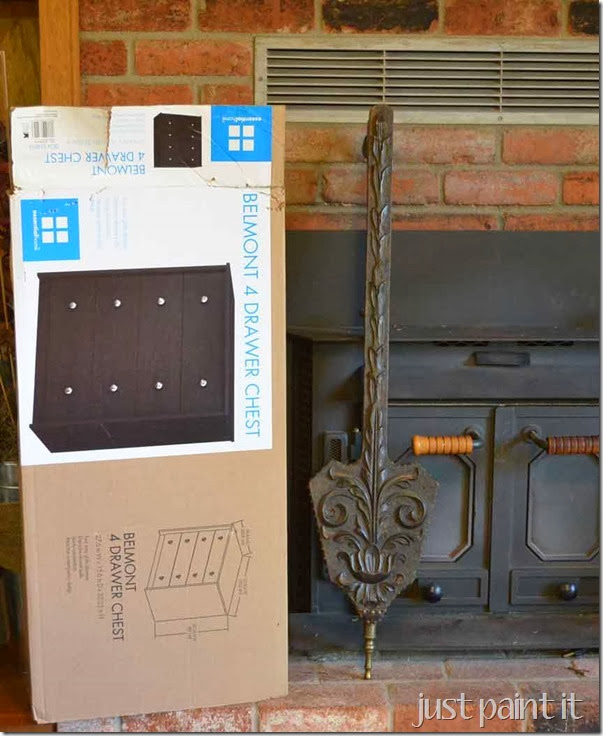
First, you’ll need a box.
(Gee, really, Colleen?)
If you’re thinking that all you need to do is cut out a tree shape and then spray paint it, you’re pretty much right.
But since I’m a blogger and this is a blog, I’m gonna show you the pics anyway.
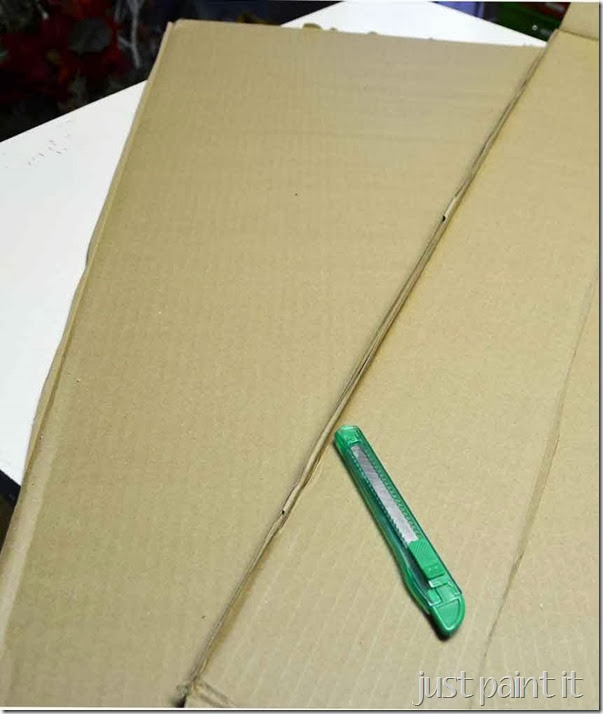
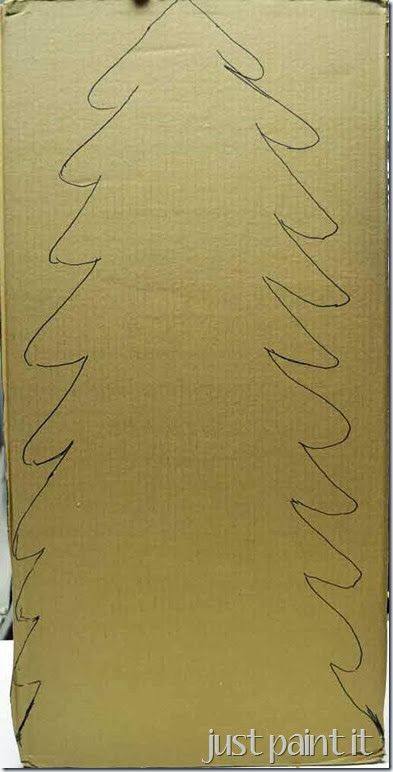
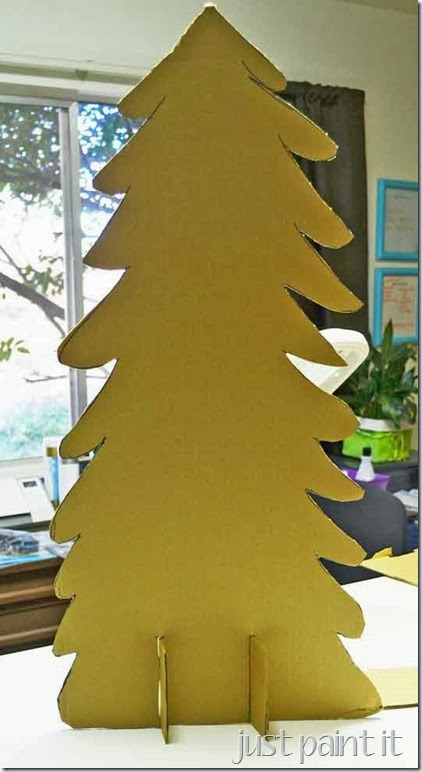
Cut one ‘panel’ of cardboard. I used the box that Mom’s dresser came in and saved one of the side panels for the tree ‘stand’.
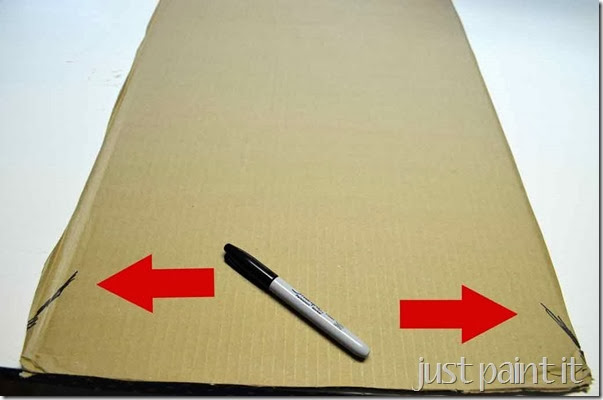
Start drawing your tree shape at the bottom so you have the widest part first.
This’ll seem a little weird since most of us draw trees starting at the top . . . and even though this isn’t fine art by any means . . . draw your branches from the bottom up.
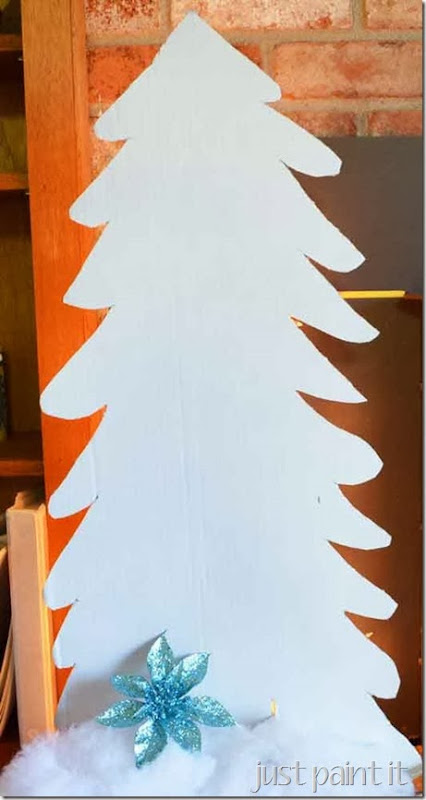
I wanted mine rounded, rather than sharp or zig zag.
I dunno why. It just looked more cartoonish or whimsical with rounded branches so I went with it.
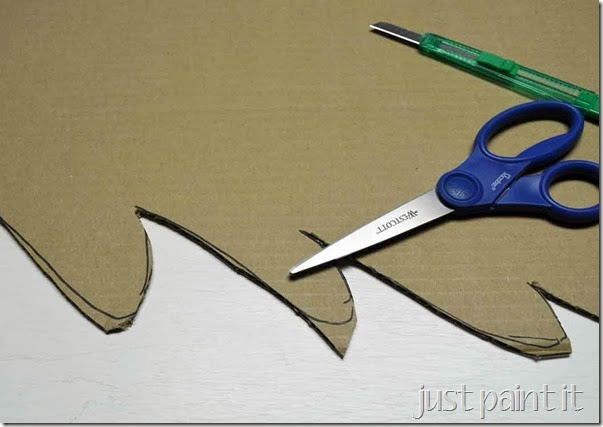
Cutting curves in cardboard with a utility knife is . . . a pain in the patooty.
Use scissors for any rounded parts.
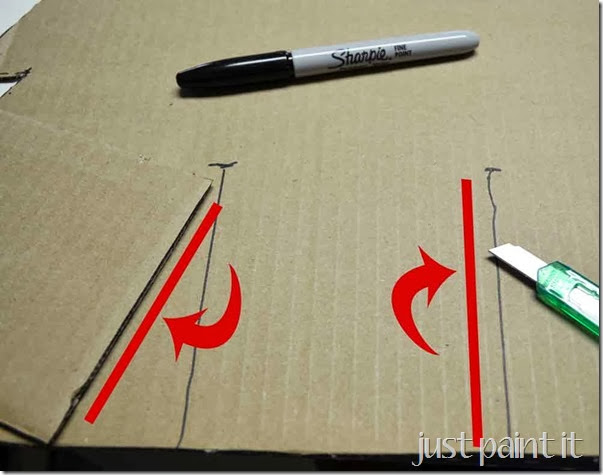
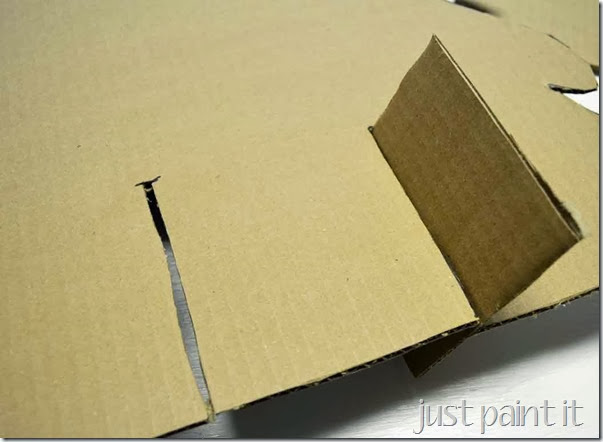
For the tree ‘stand’, cut two slots in the base of the tree that measure the same height as your cardboard ‘panel’.
I went a little overboard and made mine too high.
I think they’re about 6 inches high but I wanted the tree to stand on its own.
So far, so good.
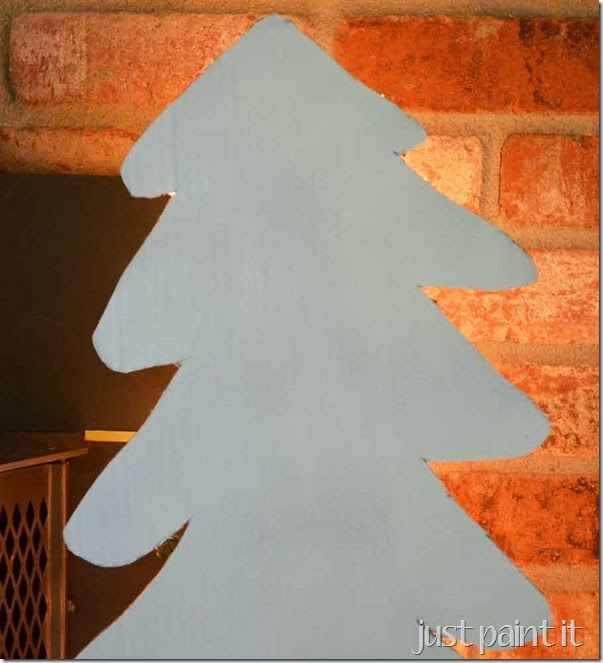
Now just coat it with spray paint or roll it on if it’s too cold for spraying where you are.
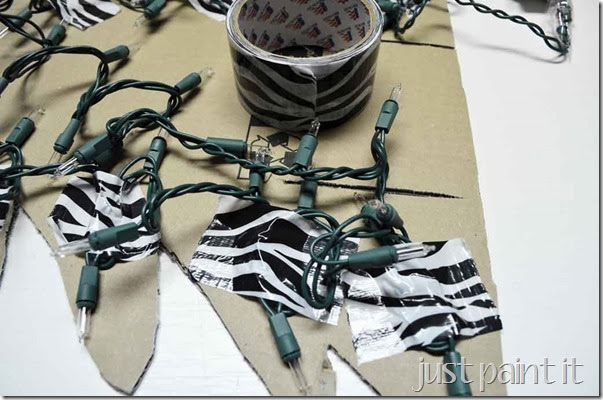
If you want to add lights . . . I mean, what’s a Christmas tree without lights? . . . grab a roll of duct tape (or Duck tape) and start taping.
I started out all systematic with the bulbs taped to the very edge of each branch.
About halfway up the first side of branches I totally ditched that ‘system’ and started taping wherever and however.
If you use 100 light strand like I did, it won’t matter anyway because that many lights will make the entire tree glow, no matter where the bulbs are placed.
*Note: I do not light fires in my fireplace so there is no fire hazard in that regard. I also do not leave the cardboard trees unattended while they’re lit, just to be on the safe side.
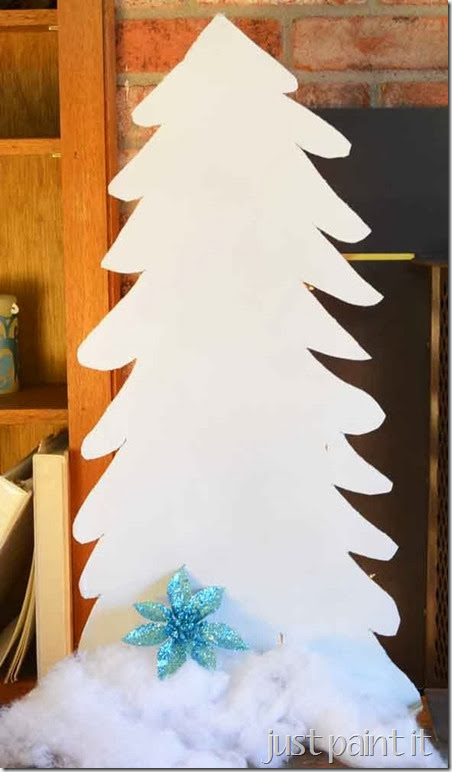
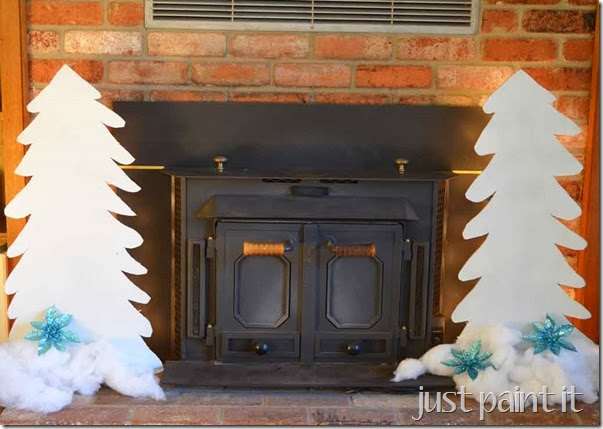
Without lights they’re pretty fun.
I threw cotton batting at the base to cover the stand.
With the lights on though the trees just glow.
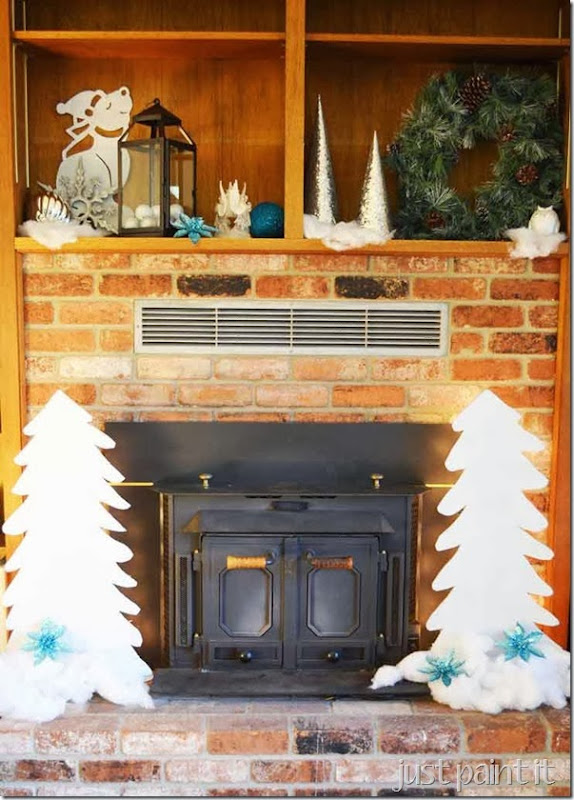
Cardboard Christmas trees for my Winter Woodland room!
And one less box in my garage. Total win-win!
I’m still working on the shelves above and on each side but I had to throw something up there for the photo.
Of course if I had wood working saws and tools I’d make a plywood tree but hey, in a pinch, cardboard worked great and gave me just the look I was going for.
What do you think? Kinda Charlie Brownish, but in a stylin’ way. You could go crazy and decorate it all sorts of ways but for now I’m liking the simplicity of the plain white.
Colleen
about Colleen


How Darling, Colleen!
ReplyDelete